
Construction progress photos: what to capture and when
6 min read
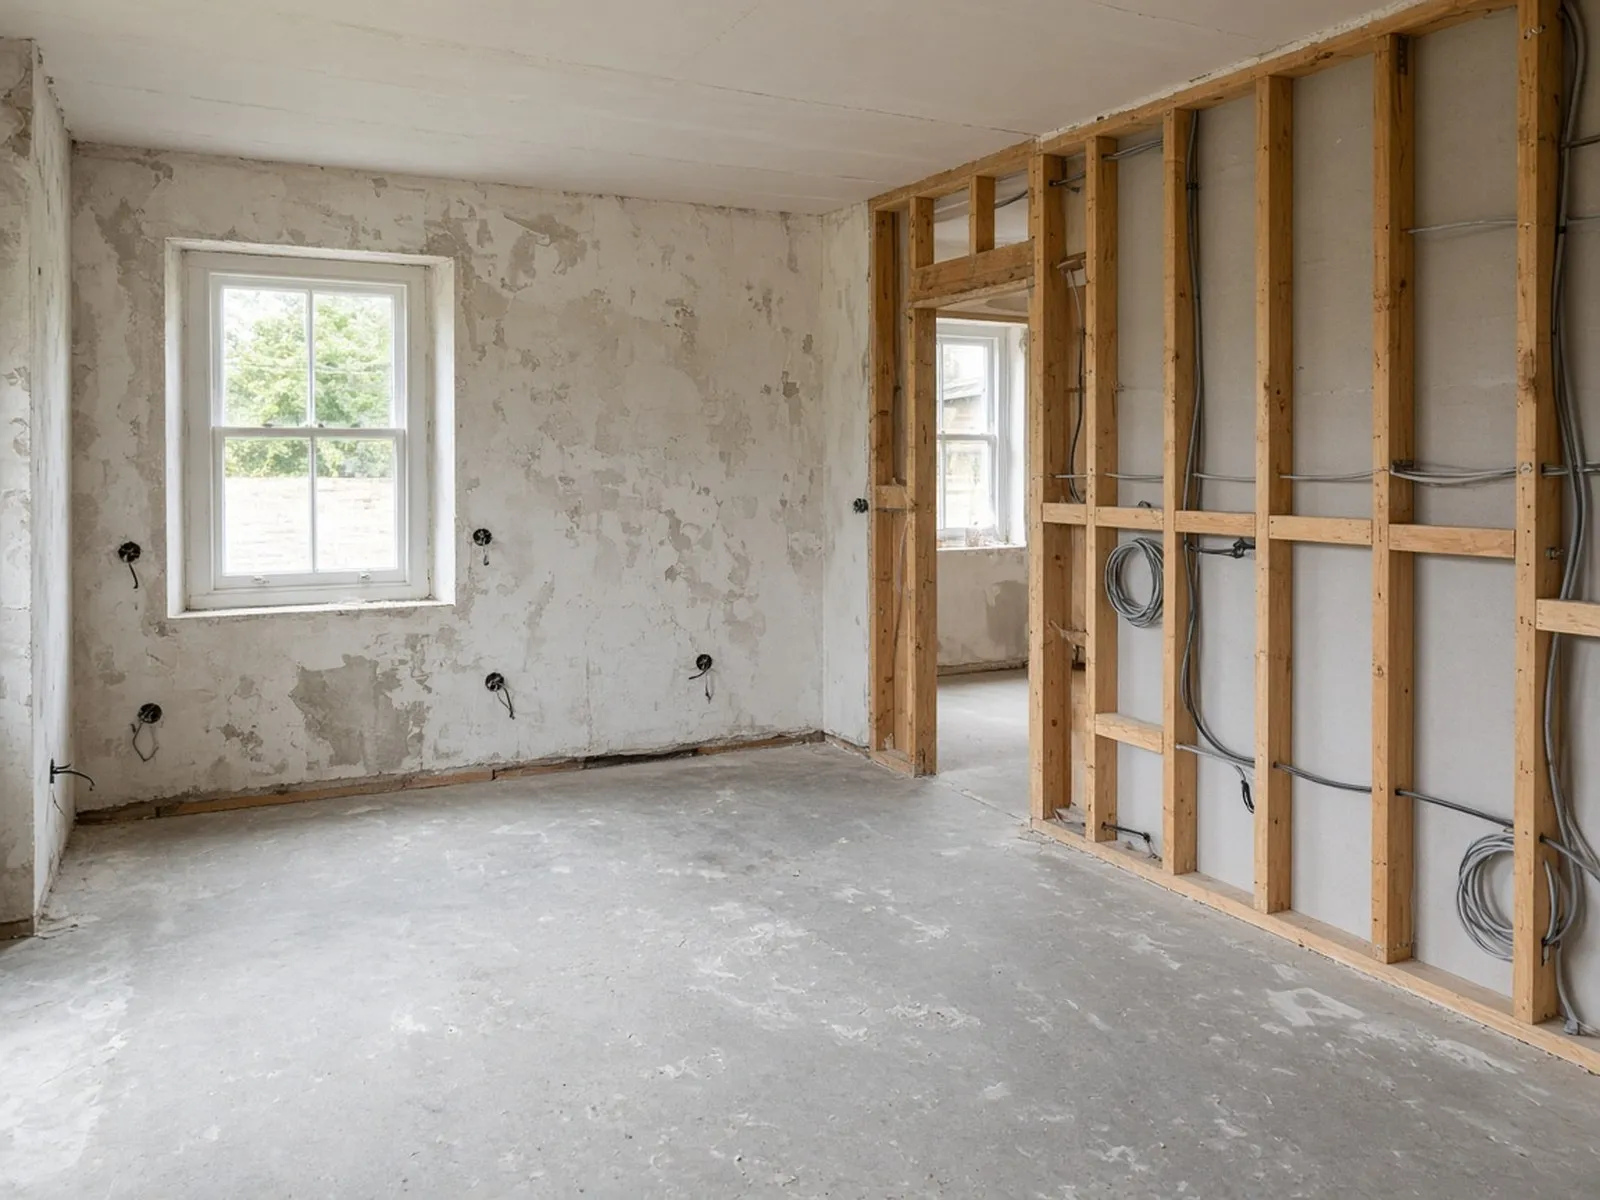
A folder full of site photos is not the same as a useful project record. Forty close-ups can still leave a client wondering which room they are looking at, what changed or whether work is ready for the next stage.
Good construction progress photos answer three questions: where are we, what happened and why does it matter? You do not need a professional camera. You need a repeatable routine, a few clear views and captions that connect the pictures to the work.
Here is a practical system for a small renovation, fit-out or other client project. Adapt the stages to your job rather than photographing everything indiscriminately.
Agree what the photos are for
Before work starts, separate three purposes:
- Client communication: a small selection that explains progress and decisions.
- The working record: more detailed photographs of conditions, installations and changes.
- Marketing: images you may want to share publicly later.
Permission to send a client an update is not permission to use their home or business in an advertisement. Agree who can see the photographs, what must stay private and whether public use is allowed. Keep security systems, personal documents, faces and addresses out of client-facing pictures unless there is a clear reason and appropriate permission.
Name one person to collect the record. Others can contribute, but someone needs to check that important stages have not been missed.
Start with a baseline before work changes anything
Take your first photographs before demolition, deliveries or protective coverings obscure the starting condition. Work through each affected room or area in a consistent order.
Capture one wide view from the entrance, another from the opposite corner and details of existing damage or items that must be protected. Include access routes and nearby finishes that the work could affect. A close-up of a cracked tile means little without another image showing where it sits.
Keep captions factual: “Existing chip on lower right corner of entrance tile, photographed before protection was installed.” Avoid claiming the image proves who caused damage. A photograph records what was visible at that moment, not the whole history.
If the client has concerns about a finish or boundary, confirm the starting condition together rather than relying on an unexplained picture later.
Use the same viewpoints throughout the job
Choose two or three safe, repeatable positions for each main area. Record them in simple terms such as “kitchen doorway, facing window.” Return to those positions at meaningful stages.
Keep the phone level, use the normal lens where possible and avoid extreme wide-angle views that distort the space. Take a moment to check focus and exposure. A bright window can turn the work around it into a dark silhouette.
Do not climb onto improvised platforms or step into an active work area for a better angle. If a view is unsafe or blocked, take another one and explain the limit.
Capture stages, not just the end of the week
Some of the most useful photographs have a short window. Once a wall closes or a floor covering goes down, the earlier work is no longer visible.
| When | What to capture | Why it helps |
|---|---|---|
| Before work | Overall condition and existing damage | Establishes a shared starting point |
| After opening up | Newly visible conditions, with location | Explains discoveries that may affect scope |
| Before covering work | Relevant installation details and wider context | Preserves a visual record of concealed work |
| At a milestone | The completed stage and remaining edges | Shows what is ready and what is not |
| When a decision is needed | The actual location plus the available options | Helps the client make an informed choice |
| At handover | Finished views and any agreed remaining items | Makes the final condition easier to discuss |
Photographs do not replace required inspections, tests, drawings or sign-off. Follow the project's technical and record-keeping requirements separately. For concealed work, ask the responsible specialist what records are needed before anything is covered.
Take a wide view, a middle view and a detail
For a condition that needs explanation, use a three-picture sequence:
- Wide: identify the room or area.
- Middle: show the relevant part of the work.
- Detail: show the specific issue or completed feature.
For example, if opening a wall reveals deterioration, start with the room, move to the affected section and then photograph the visible damage. Describe only what is known. “Deterioration visible at the base of the opened wall; assessment pending” is more accurate than naming a cause that has not been checked.
If size matters, include an appropriate scale without hiding the feature. Do not infer precise dimensions from a phone image. Record measurements separately and identify who checked them.
Write captions that explain the significance
A useful caption contains a location, a change and a next step. Compare these:
- Weak: “Doorway progress.”
- Useful: “Hallway doorway: old trim removed and opening exposed. We will check the opening before ordering the replacement frame.”
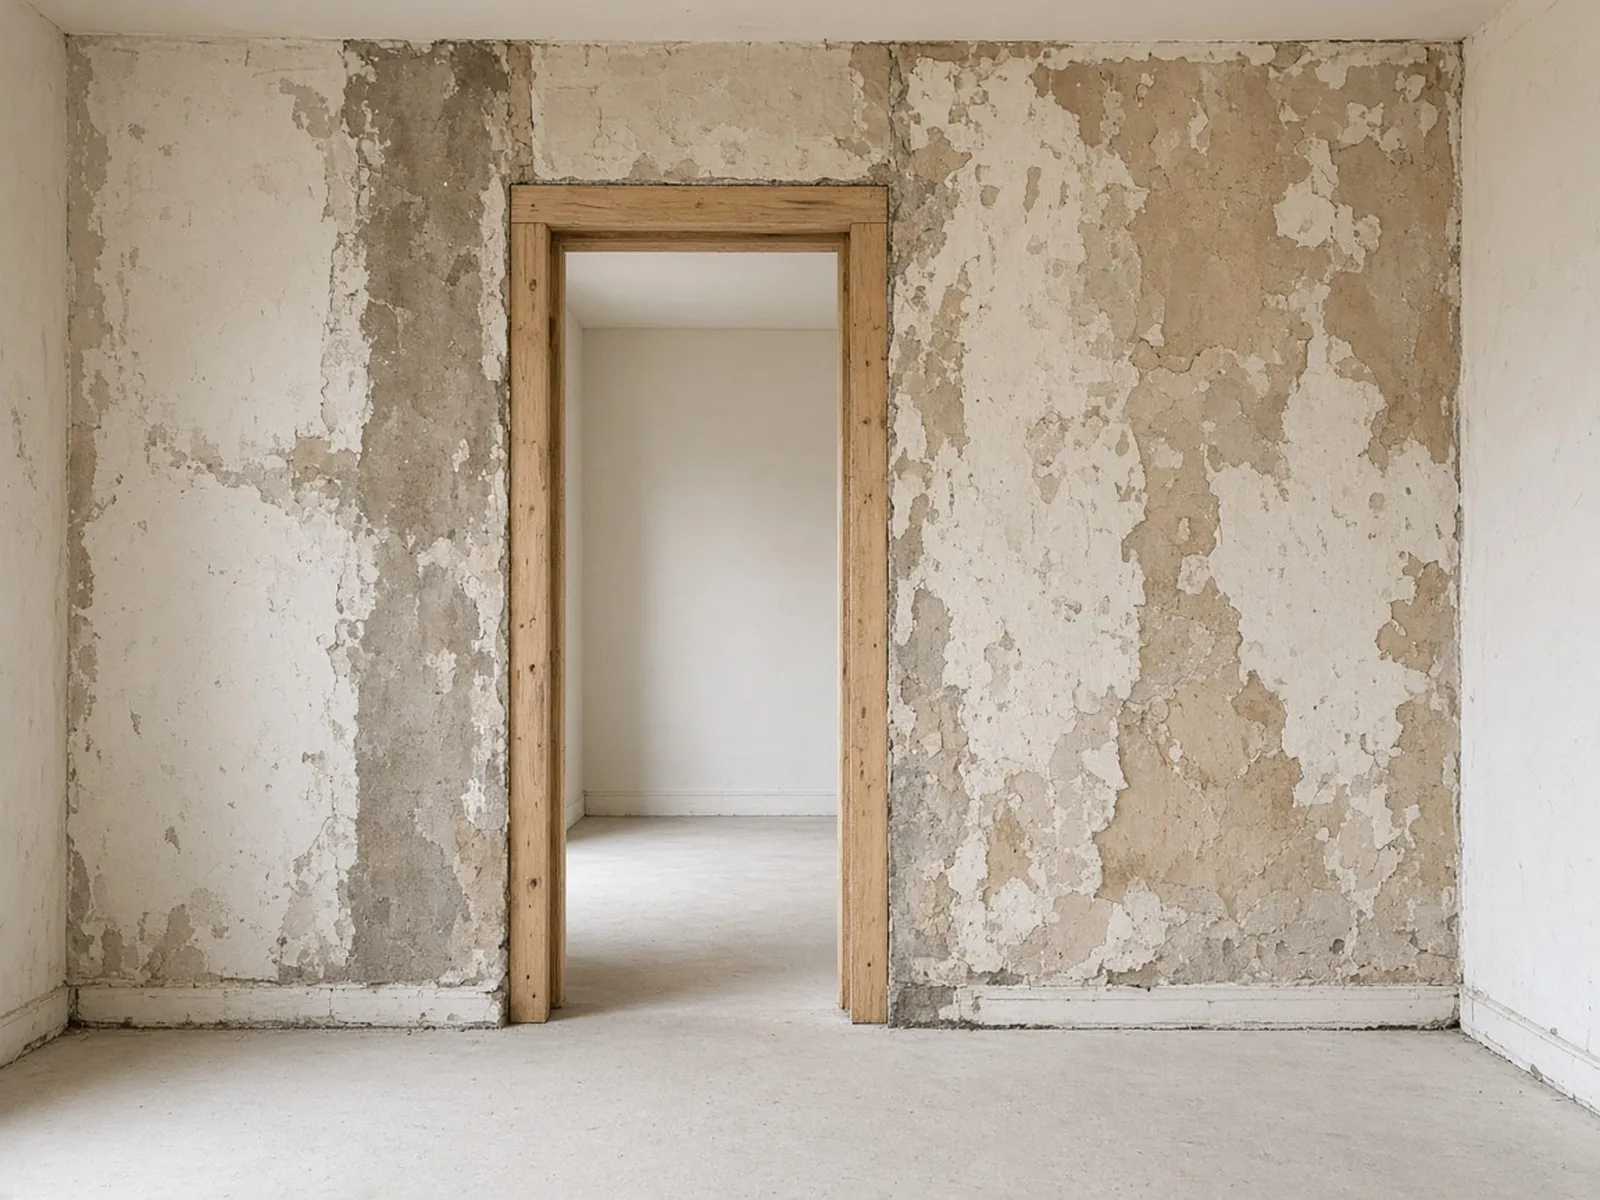
Keep completed work separate from work that is merely started. A room can look almost finished while testing, adjustments or approvals remain outstanding. If the caption says “complete,” be clear about which stage is complete.
A client should not have to interpret tools or materials to understand the message. Explain what the photograph means for the next activity, access to the space or a decision they need to make.
Keep the full record but share a selection
Store originals by project, date and area. A simple structure such as “Project name / 2026-11-09 / Kitchen” is easier to search than a mixed camera roll. Keep original files unchanged and make separate copies for annotations or cropping.
Agree access, backup and retention arrangements appropriate to the job. Do not leave the only copy on one person's phone. Before sharing, check for private information in the background and remove unrelated images from the selection.
For the client, choose the pictures that explain a change, a milestone or a request. Six purposeful photographs are usually more useful than thirty near-identical ones. Keep fuller technical records available separately where the project requires them.
Use a two-minute photo check before leaving
At the end of a meaningful stage, ask:
- Is the location obvious?
- Have I captured anything that will be hidden next?
- Can I distinguish finished work from work in progress?
- Is there a clear photograph for any decision the client needs to make?
- Are the images sharp enough to use?
- Have I kept private information out of the shared selection?
- Are the originals saved somewhere the project team can find?
The same routine works outside construction: record the starting state, capture important transitions and show the result in context. For digital work, that might mean screenshots rather than site photographs.
If you use SiteGlance, you can capture photos and notes as work happens, then check the drafted update before publishing it to the client's page. The important part is still your judgment: choose the images that explain the job, not just the ones that look good.